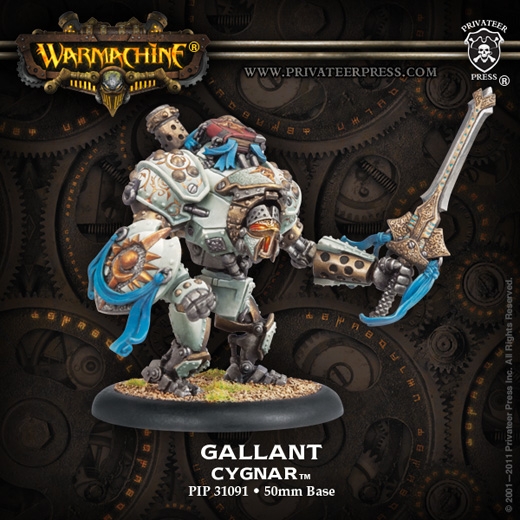
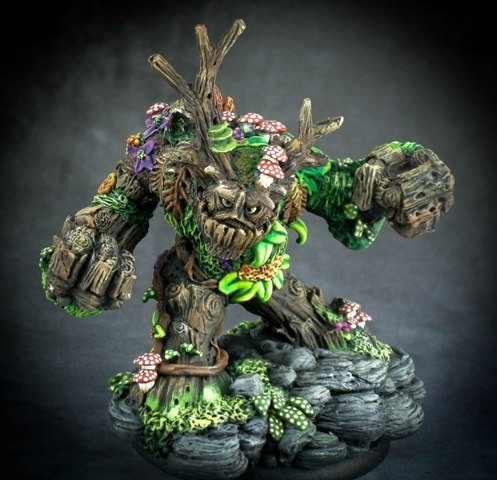
Everyone loves the look of sharply painted miniatures on the tabletop. Many gamers assume that the art of presenting stylish and eye grabbing figures are beyond their skills but those same people would be amazed by the results they can achieve by following some rather simple steps.
The point of this series will be to bring over 30 years of miniature painting experience to the masses and to encourage gamers to try their hand at what is a fun and relaxing aspect of gaming. I can’t say that you’ll be painting award winning minis right off the bat but, with some practice, you’ll find amazing improvements in the figures you crank out.
So let’s start at the very beginning.
Before you start dipping your brush in paint you’ll find that there’s a little bit of work involved in preparing the figures. You may ask why and the answer is simple – paint will not adhere, in the long run, to a figure painted right out of the package. The reason for this is the “release agent” used in the production of the figures. Regardless if the figures are metal, plastic, or resin casters apply a release agent to the mold which is an oily or powder substance. This is what allows the miniature to pop out of the mold easily. The release agent prevents paint from adhering to the miniature very well and we’ll have to remove it.
A great many metal and resin miniatures have a powdered release agents that obscure the fine details. Plastic figures normally have a greasy finish from the oil based release agent. Both types of release agents make your job as a painter more difficult so a good cleaning is in order. Cleaning the figure will allow the details to come to the fore – especially when working with metal or resin. You’ll be amazed at the intricacies of a miniature once it is clean and crisp looking. This makes painting the mini much, much easier as well.
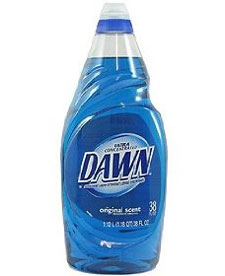
It doesn’t take much to get your figures squeaky clean and just about any liquid dish soap works well; I happen to use Dawn because it nicely removes the oily agent on plastic figures. Just some hot water and a hard bristled toothbrush will help finish the task. I tend to let the figures soak in relatively hot, soapy water for a few minutes and then take the toothbrush to them. There’s no need to go crazy with scrubbing and keep in mind that you’ll want to be careful with any fragile areas of the miniature.
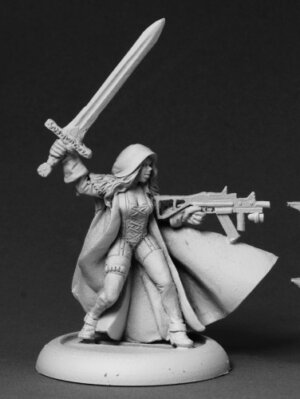
Once you no longer feel an oily residue on plastic figures, or start to see a nice shine on metal or resin (yes… resin does shine) you’ll know that the mini is clean and ready for the next step: cleaning up mold lines and flash.
You might be asking, what is a mold line?
Figures are normally produced in a two part mold. One part is usually the front of the figure and the other is the back. Even the best miniature companies’ production processes will leave a small line where those two halves met and a tiny amount of metal, plastic or resin remains. This needs to be removed before priming begins.
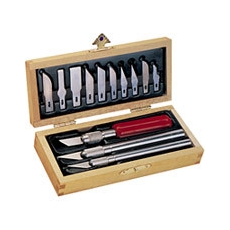
If the mold lines are not thick, you can remove the flash by dragging the unsharpened edge of an Exacto knife along the mold line. This is normally enough to remove very light mold lines and even heavy lines on plastic or resin minis. If the mold lines are heavier, especially with metal, you’ll want to utilize what are known as “needle files”. You can normally find them at most hobby shops or hardware stores. Needle files are rather fine grit and you can use these without much worry of damaging the figure while you work.
It’s important to use a file that fits the area where you’re removing mold lines. If in doubt, use a file smaller than you think you might need. With a bit of practice you’ll know exactly what file to use and where.
Flash is much easier to deal with than mold lines. Molds usually have small openings cut into them to let air and some casting material flow away from the figure, during production, without leaving air pockets. This normally leaves small and flat nubs of material, often on hands, feet, and between the legs of the figure. More often than not, using the Exacto knife in the same way as removing mold lines does the trick. If not then quick work with a needle file will take care of the flash.
Now your miniature is ready to be primed.
Next: A Primer on Priming
